
Concealer: choosing a shade and applying without a heavy layer
Friday 23rd October 2026
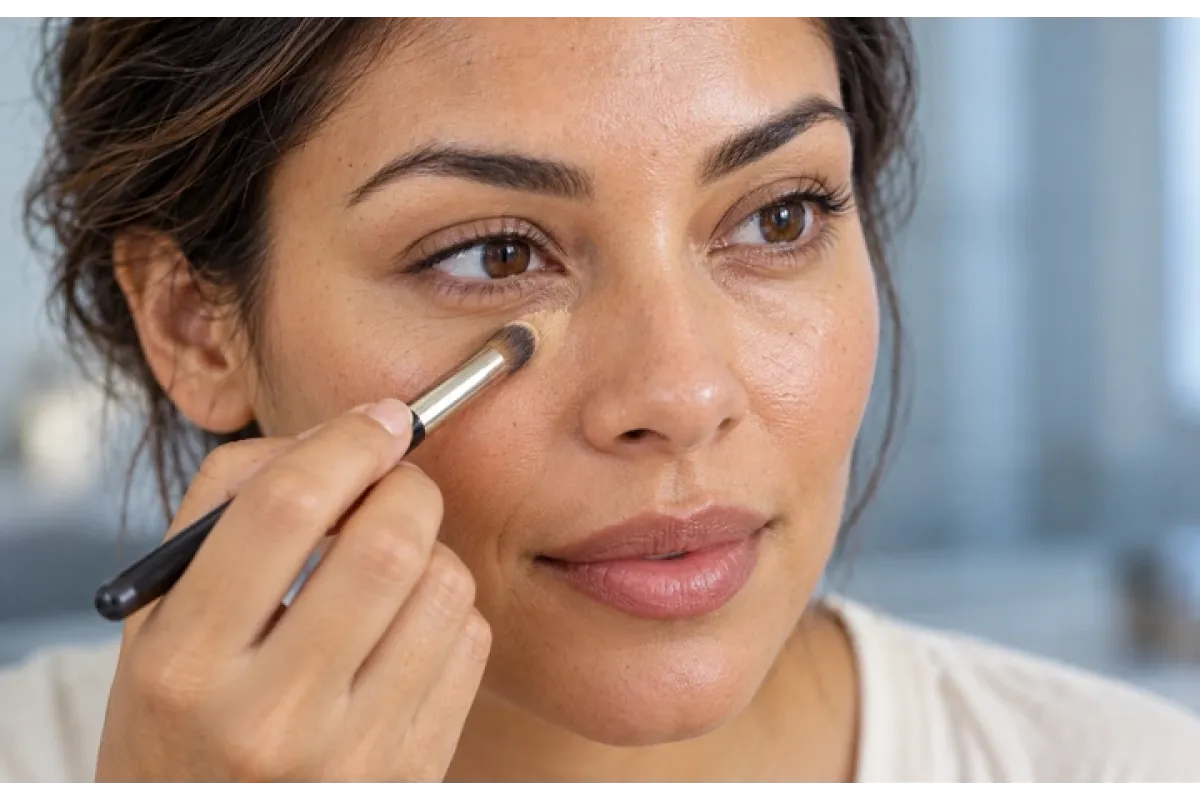
A well-chosen concealer does not have to hide every sign of skin. Sometimes softening a little shadow near the inner eye or evening out one small area is enough to give the look you want. Difficulties can start when extra coverage joins the wrong colour: a shade that is too light, a wide application area and repeated layers may make the correction more obvious than the shadow. Here is how to choose for a specific purpose, assess a shade and apply an amount that makes sense for everyday makeup.
1. Decide what you want to conceal
Look at your face in ordinary daylight without a magnifying mirror. Pick one area to start with. Distinguish evening out colour from making a place lighter: these are different aims, and the same shade is not always equally useful for both. Concealer provides cosmetic coverage; the skin's natural texture remains.
A small area on the face
For targeted coverage, take the surrounding complexion as your reference. A colour that differs noticeably can leave a visible patch even with careful blending. If you wear foundation, see what it has already done first. You may need extra product over a smaller area than you expected before starting your makeup.
A shadow under the eyes
Find the part you would like to soften rather than covering the whole area equally. A shadow can look different near the inner corner and towards the outer eye. Check from an ordinary viewing distance. The aim is an overall look you enjoy, rather than a flawless image at strong magnification.
A little brightening
If you want to bring light to a particular place, assess that aim separately from concealing. The lightest option is not a universal answer for every task. Before buying, decide where you will use the product most often. This helps avoid choosing a colour for one technique while expecting a completely different effect.
2. Check a shade on skin, not by its name
A number, a name such as “natural” or “light”, and an on-screen colour can guide you through a range, but they cannot replace trying it. Compare depth and colour character: does the applied product look too pink, yellow or grey beside your skin? Shade names from different brands do not form a common scale.
| Aim | What to compare | What to avoid |
|---|---|---|
| Targeted coverage | A match to the surrounding tone | A pale patch with visible edges |
| Under-eye area | Colour where needed, also while smiling | Automatically covering the whole area |
| Brightening | The balance of the face after blending | Assuming lighter is always better |
| Colour corrector | How it works with coverage placed over it | An extra layer without a specific purpose |
If you can try a product, assess a small application on its intended area while following the tester's hygiene rules. Look at the blended colour, not only a thick stripe. When ordering online, comparing a familiar shade and several brand images is more useful than relying on one photograph. A screen cannot guarantee an exact match.
3. Begin application on a small area
- Prepare the surface. Let your usual skincare settle and check for a slippery excess. Try concealer over familiar preparation so you are not changing the cream, primer and application method at the same time.
- Take a small amount. Use clean hands or a clean tool in line with the product's intended use. If the applicator carries a lot, you do not need to transfer it all in one go. Start with a portion that lets you control the area.
- Blend the edges. Gently connect the coverage to the surrounding complexion first. Do not spread one small dot over a large area just because it blends easily. Check that the correction remains where you intended to put it.
- Assess before adding. Look straight ahead, smile and move back from the mirror. If you still want extra coverage, add it to the specific place. Avoid automatically repeating a layer over the entire treated area.
One familiar tool is enough to begin. Brushes, sponges and fingers can give different sensations and distribution, but you do not need to buy all three. If you change tools, keep the amount and skincare preparation the same so the comparison stays clear.
4. Two examples from Wellness Expert
The shop describes Vagheggi Phytomakeup Concealer Corrector 8 ml as a cream concealer with high coverage and a natural finish. The manufacturer's catalogue lists Concealer N.10, N.20 and N.30. This is a reason to check the selected option carefully, rather than assume any number will suit you. Wanting coverage does not mean you need to apply it in a broad, thick layer.
Skeyndor Skincare Makeup CC Eye Perfection Contour 15 ml offers a different approach to cosmetic correction around the eyes. Skeyndor describes colour correction and gentle fingertip blending. Compare its intended area with your own aim: a product for this zone does not automatically replace every concealer across the whole face.
These examples have different positioning. Before ordering, check the current card, selected shade or option, size and label. Shared descriptions of a natural effect cannot predict the same result for different people.
5. Three mistakes that make coverage noticeable
- Using one overly pale colour for everything. If a separate light patch appears around the target area, check the shade and application size before adding more. High coverage does not solve a colour mismatch.
- Judging only a still face close up. Look while speaking or smiling too. Lines and movement are natural; trying to fill every crease with another layer will not necessarily make the result neater.
- Continually touching blended coverage. Repeated passes make assessment harder. Blend, pause and look under normal lighting. If a touch-up is needed, identify its place instead of restarting the whole process.
6. Do you need powder on top?
Do not add powder simply to complete a compulsory step. Assess the concealer first: do you like its finish, how does the blended coverage look, and do you personally want extra setting? If you use powder, try a small amount on the area that needs it and compare.
Avoid changing the concealer, powder and preparation together when trying to understand an unsuccessful finish. Our guide to powder without a heavy layer discusses textures and application. Powder and concealer occupy different steps, and their combination is best judged on your own skin.
7. Check it through an ordinary day
For a first trial, choose a day when you can calmly look again later. Remember the amount, area and tool. If something does not suit you, change one variable next time. For example, keep the shade but reduce the application area. This tells you more than starting each time with several unfamiliar products.
If the coverage behaves unexpectedly over skincare, revisit our guide to preparing skin for makeup. Check the order, amount of cream and convenience of your usual routine. Remove makeup in the evening with a suitable cleanser. Assess concealer as part of the whole process rather than from a single successful photograph.
8. A checklist before buying
- Area: where will you use this product most often?
- Colour: do you want a close match or a separate brightening effect?
- Coverage: can you control a small amount and its edges?
- Routine: does it suit your preparation and familiar tool?
Begin with a precise aim and a small area. Successful correction belongs within the overall makeup and lets skin retain its familiar, lively appearance.
Mila Serani, Skincare & Beauty Editor at Wellness Expert